GoldieBones

DIY

How to make the Perfect Body Lotion in 6 Easy Steps!

Mack Pettit1 Comment

How to make the Perfect Body Lotion in 6 Easy Steps!

Let me start off by saying, this lotion is pure G O L D. It's not crazy oily! It's not super thick! It is a PERFECT consistency! I'm going to tell you a step by step process on how I made THE BEST lotion! There are obviously tons of different brands you could use in place of these products. I will just be sharing what I used and why! Just so you know, if you don't like something, shake it up a bit! Do what works best for you! 


- Ingredients -

  • 1/4 cup wax pastilles
  • 1/4 cup Carrier oil (Avocado oil, Almond oil, Jojoba oil)
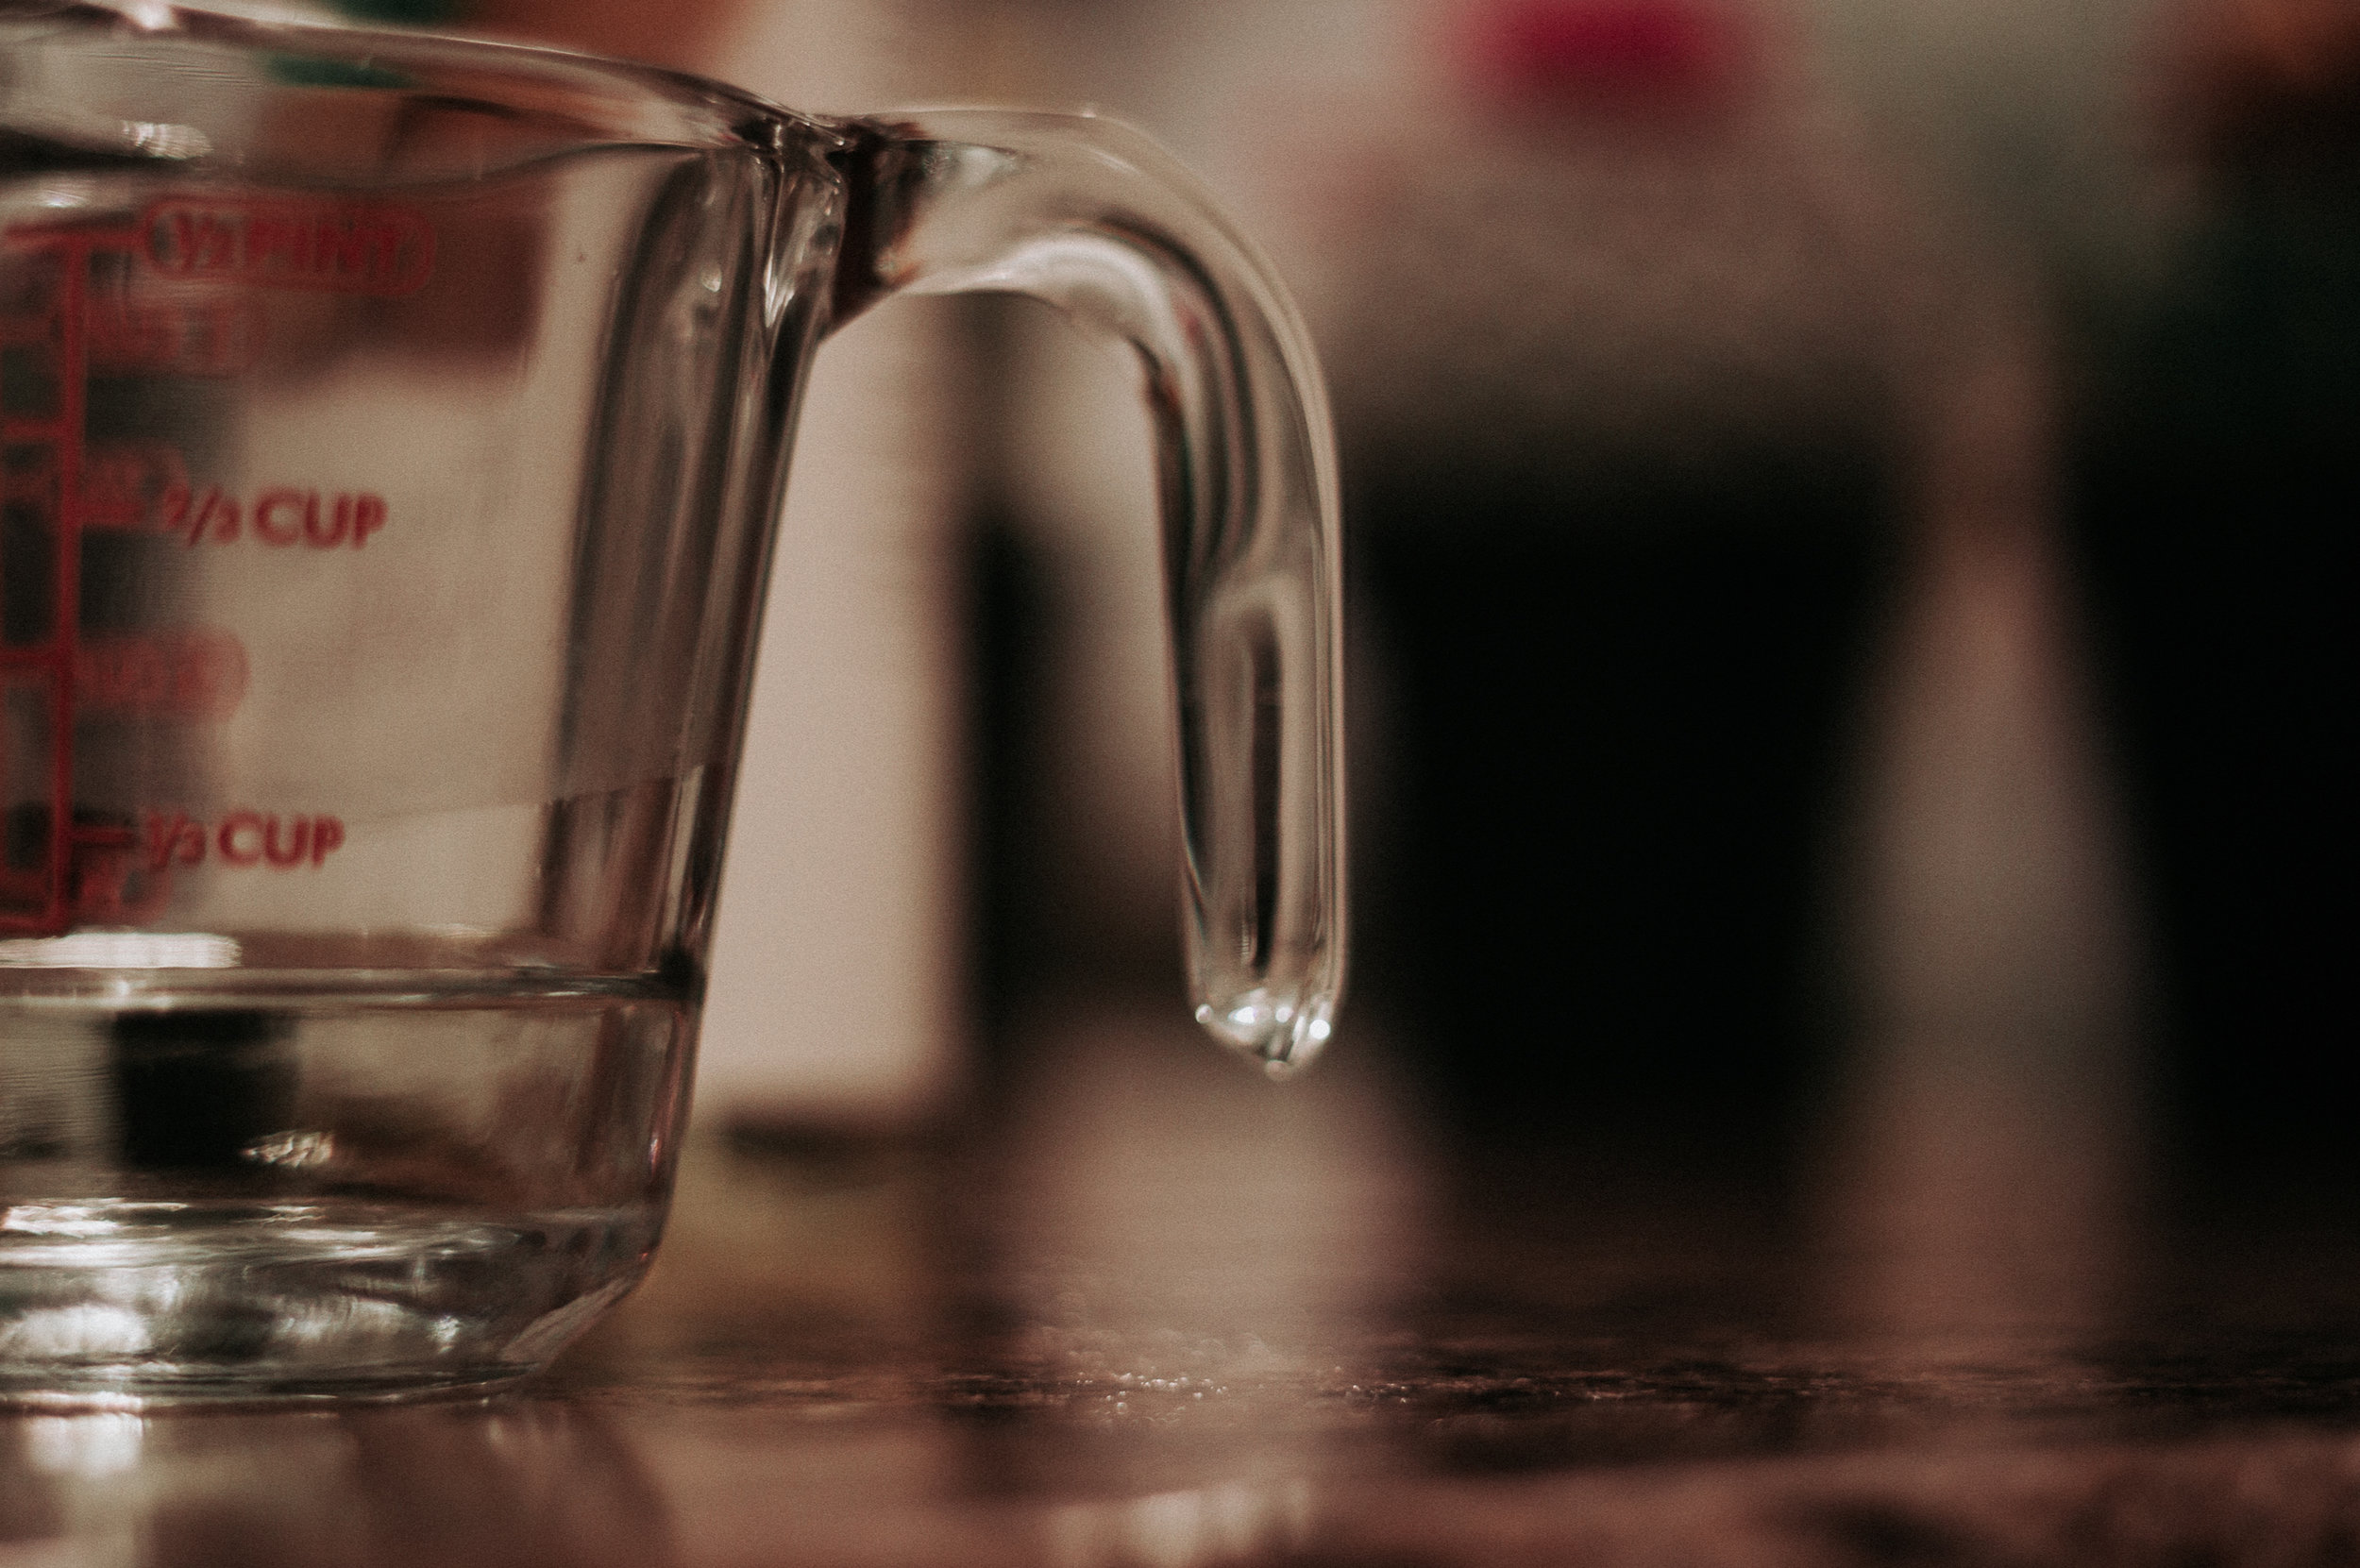
  • 1 + 1/4 cup hot water
  • 30 drops of Essential Oils

Step 1. - Melt Wax Pastillles

  • Microwave 1/4 cup of Wax Pastilles for about 1 minute-1 minute and 30 seconds or just until they are melted!
  • These wax pastilles are non-GMO, non-toxic, refined vegetable oils! So I mean, c'mon! 
6.jpg

Step 2. - Add Your Carrier Oil

7.jpg
  • Add 1/4 cup of Almond Oil (Or whatever carrier oil you choose) to your melted wax pastilles. Mix in really well. l had to transfer mine to a bigger bowl to fit all my ingredients, but if you have a bigger microwavable dish, I would just stick with that! 

Step 3. - Add Your Hot Water

  • I use hot water from my faucet. It doesn't have to be boiling, just get it pretty toasty! 

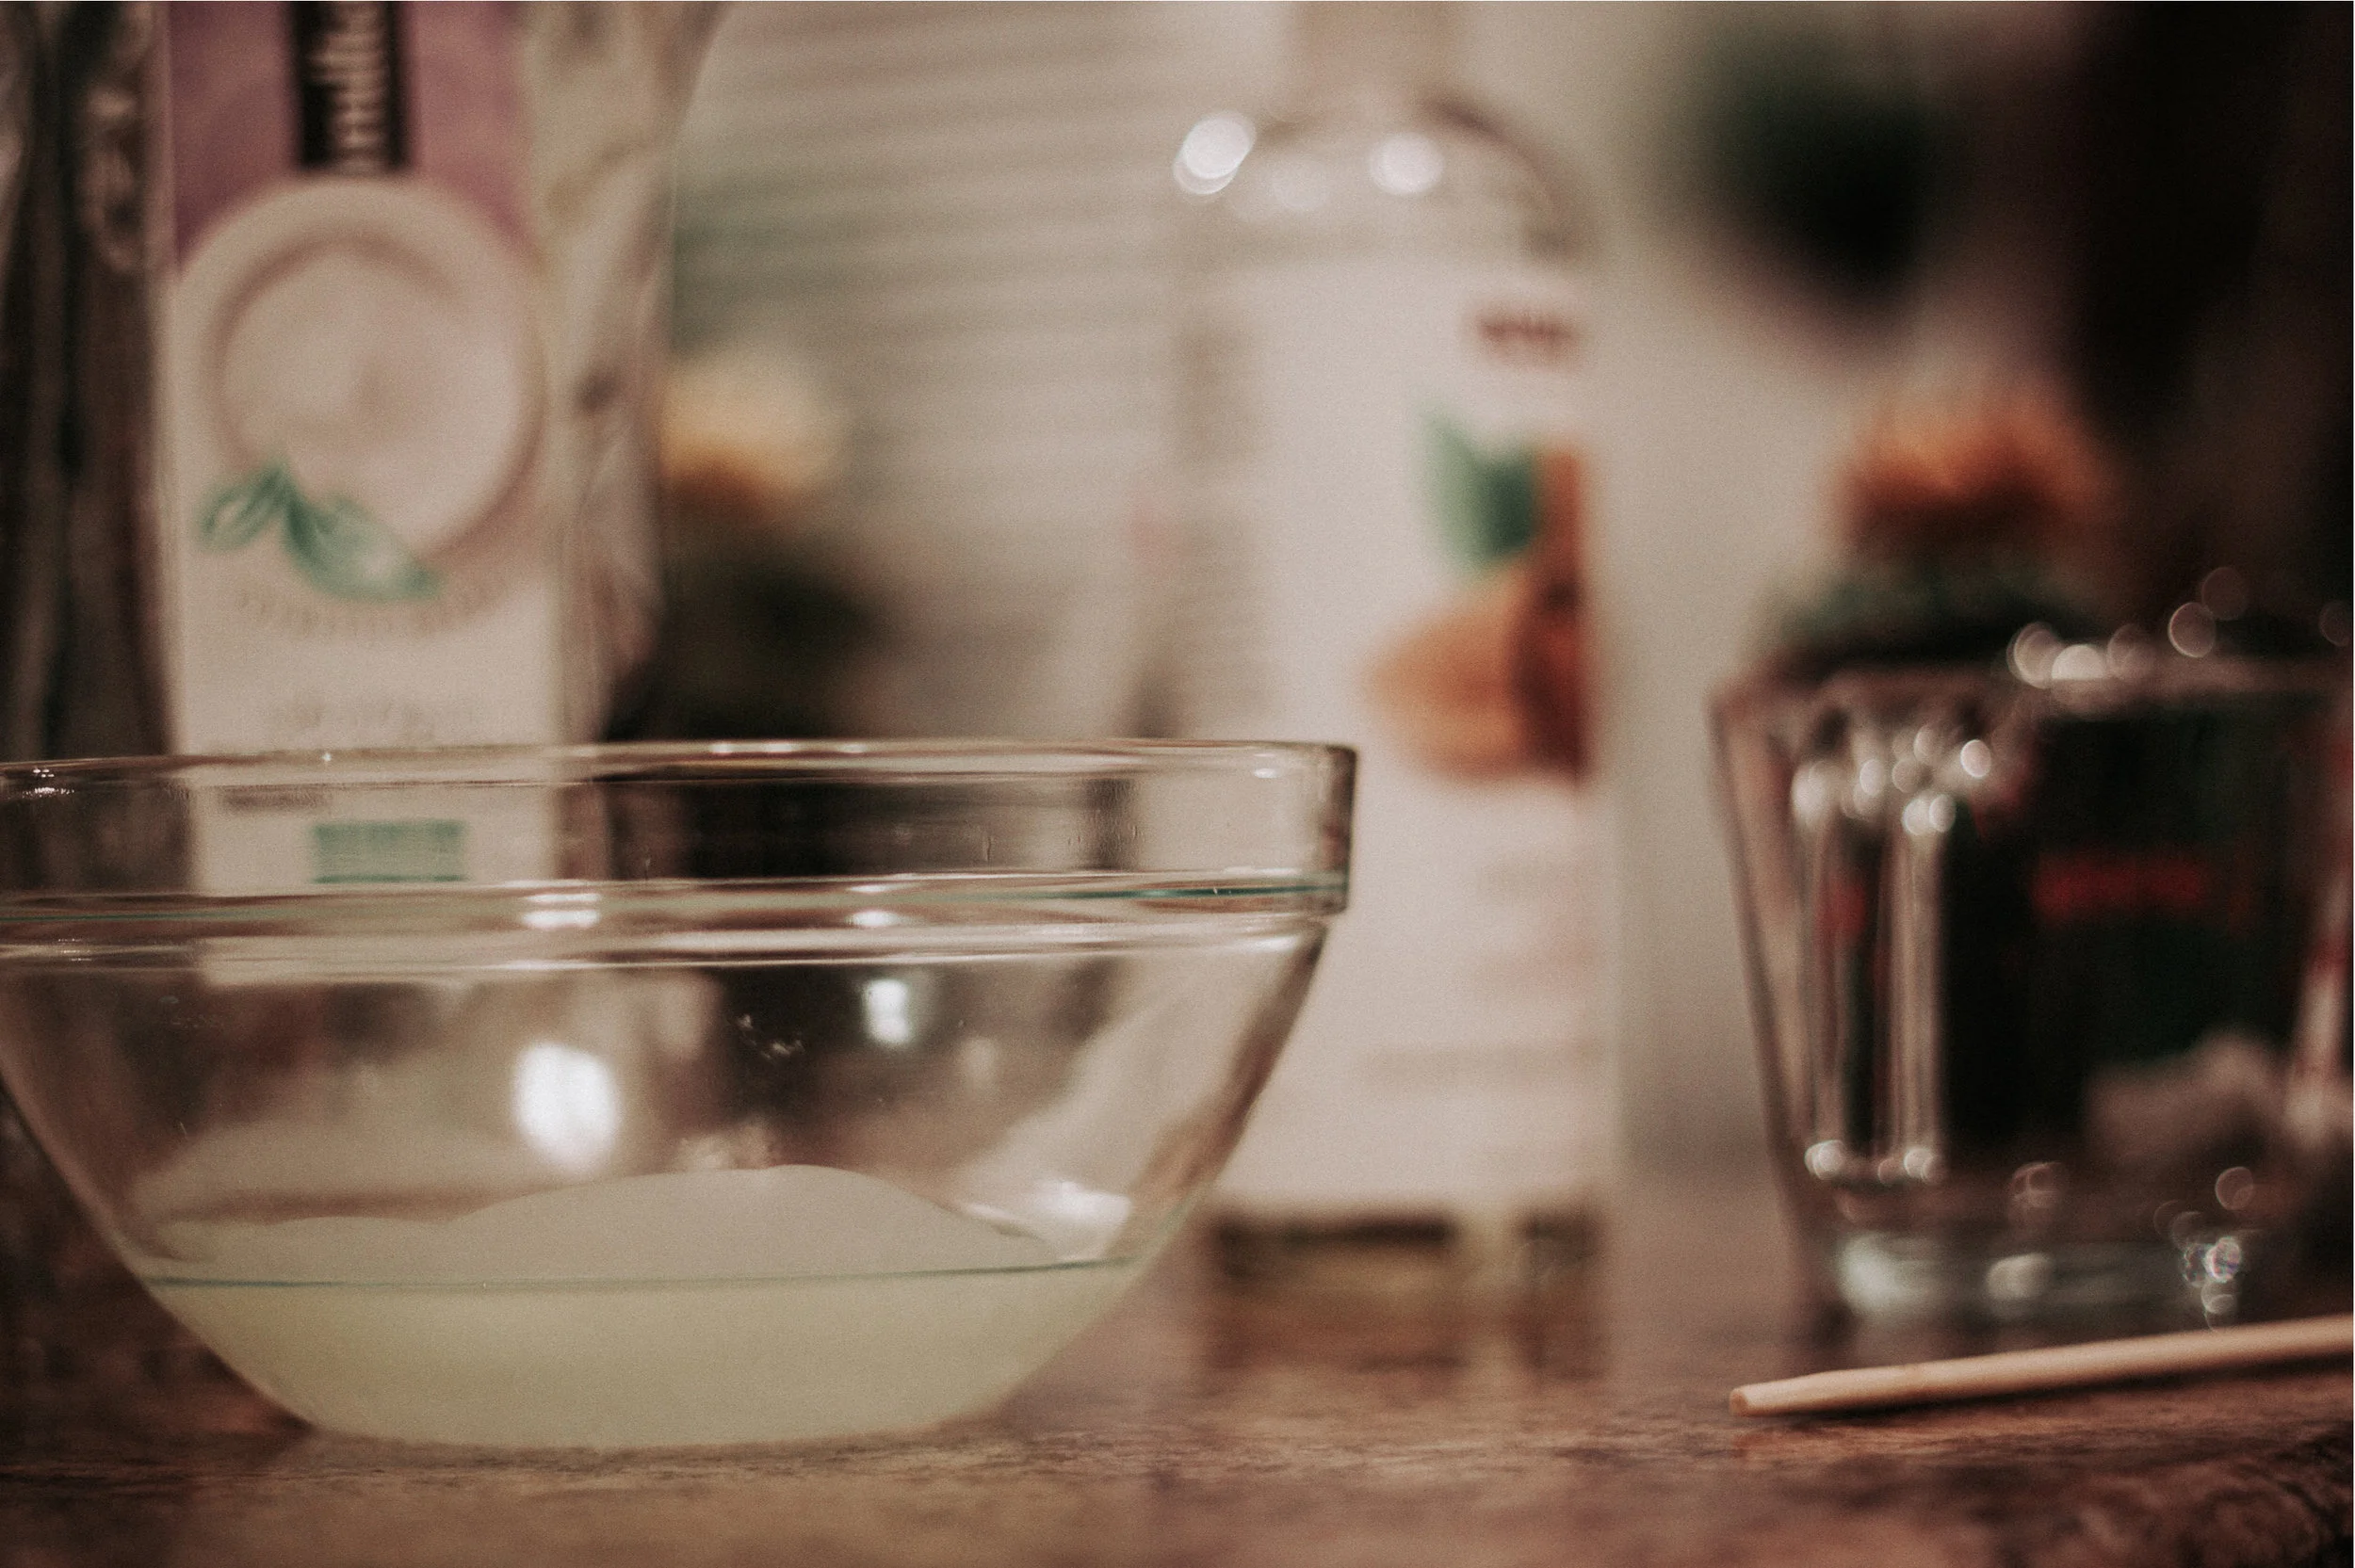
THIS IS MY FAVORITE PART!!!

  • The second the hot water hits your mixture, it immediately goes white! The whole thing! "Bill Nye The Science Guy, BILL BILL BILL..." Gettin' all hyped because science actually is cool!! 

Discover & share this News GIF with everyone you know. GIPHY is how you search, share, discover, and create GIFs.

Discover & share this Bill Nye GIF with everyone you know. GIPHY is how you search, share, discover, and create GIFs.


Step 4 + 5. Pour Into Container(s) + Add Your Essential Oils!!!

  • Add 30-40 drops of essential oils!!
  • I prefer to make a few different essential oil blends when I make this recipe, so I like to pour my essential oils into each individual container. You don't have to add the oils in last. I just can't commit to only ONE scent, you know?!

  • I chose to use Valor + Peace and Calming. Um, yes, please. If you haven't tried these, what are you waiting for?? I have a STOCK of these at my house(no joke). THE BEST DUO!!!
  • Shake really well or it will be clumpy!

Discover & share this Dog GIF with everyone you know. GIPHY is how you search, share, discover, and create GIFs.

I am an essential oil snob. I won't use any other brand but my OG Young Living. I have been using Young Living Essential Oils for about 4 years now. And-CANT-STOP-WON'T-STOP! I did my research, and this is it, guys. The big kahuna. haha just kidding. (kind of)

  • But on a side note, any essential oils will do, just please NOT grocery store bought. Like, hi. That 4-ounce bottle of frankincense for $17 is NOT pure frankincense. Just be careful, your skin will be breathing this in. 

6. Place In The Fridge

  • Let your lotions sit in the fridge for about 2 hours to cool. They don't have to stay in the fridge after that. You can store it in your bathroom or purse orrrr keep it in the fridge if you like cold lotion! It keeps its consistency regardless.
5.jpg

Tip: Find scrapbook paper you like and make cute toppers for your mason jars. This is a super fun way to customize your lotions! 

  • Trace the lid for a perfect fit!

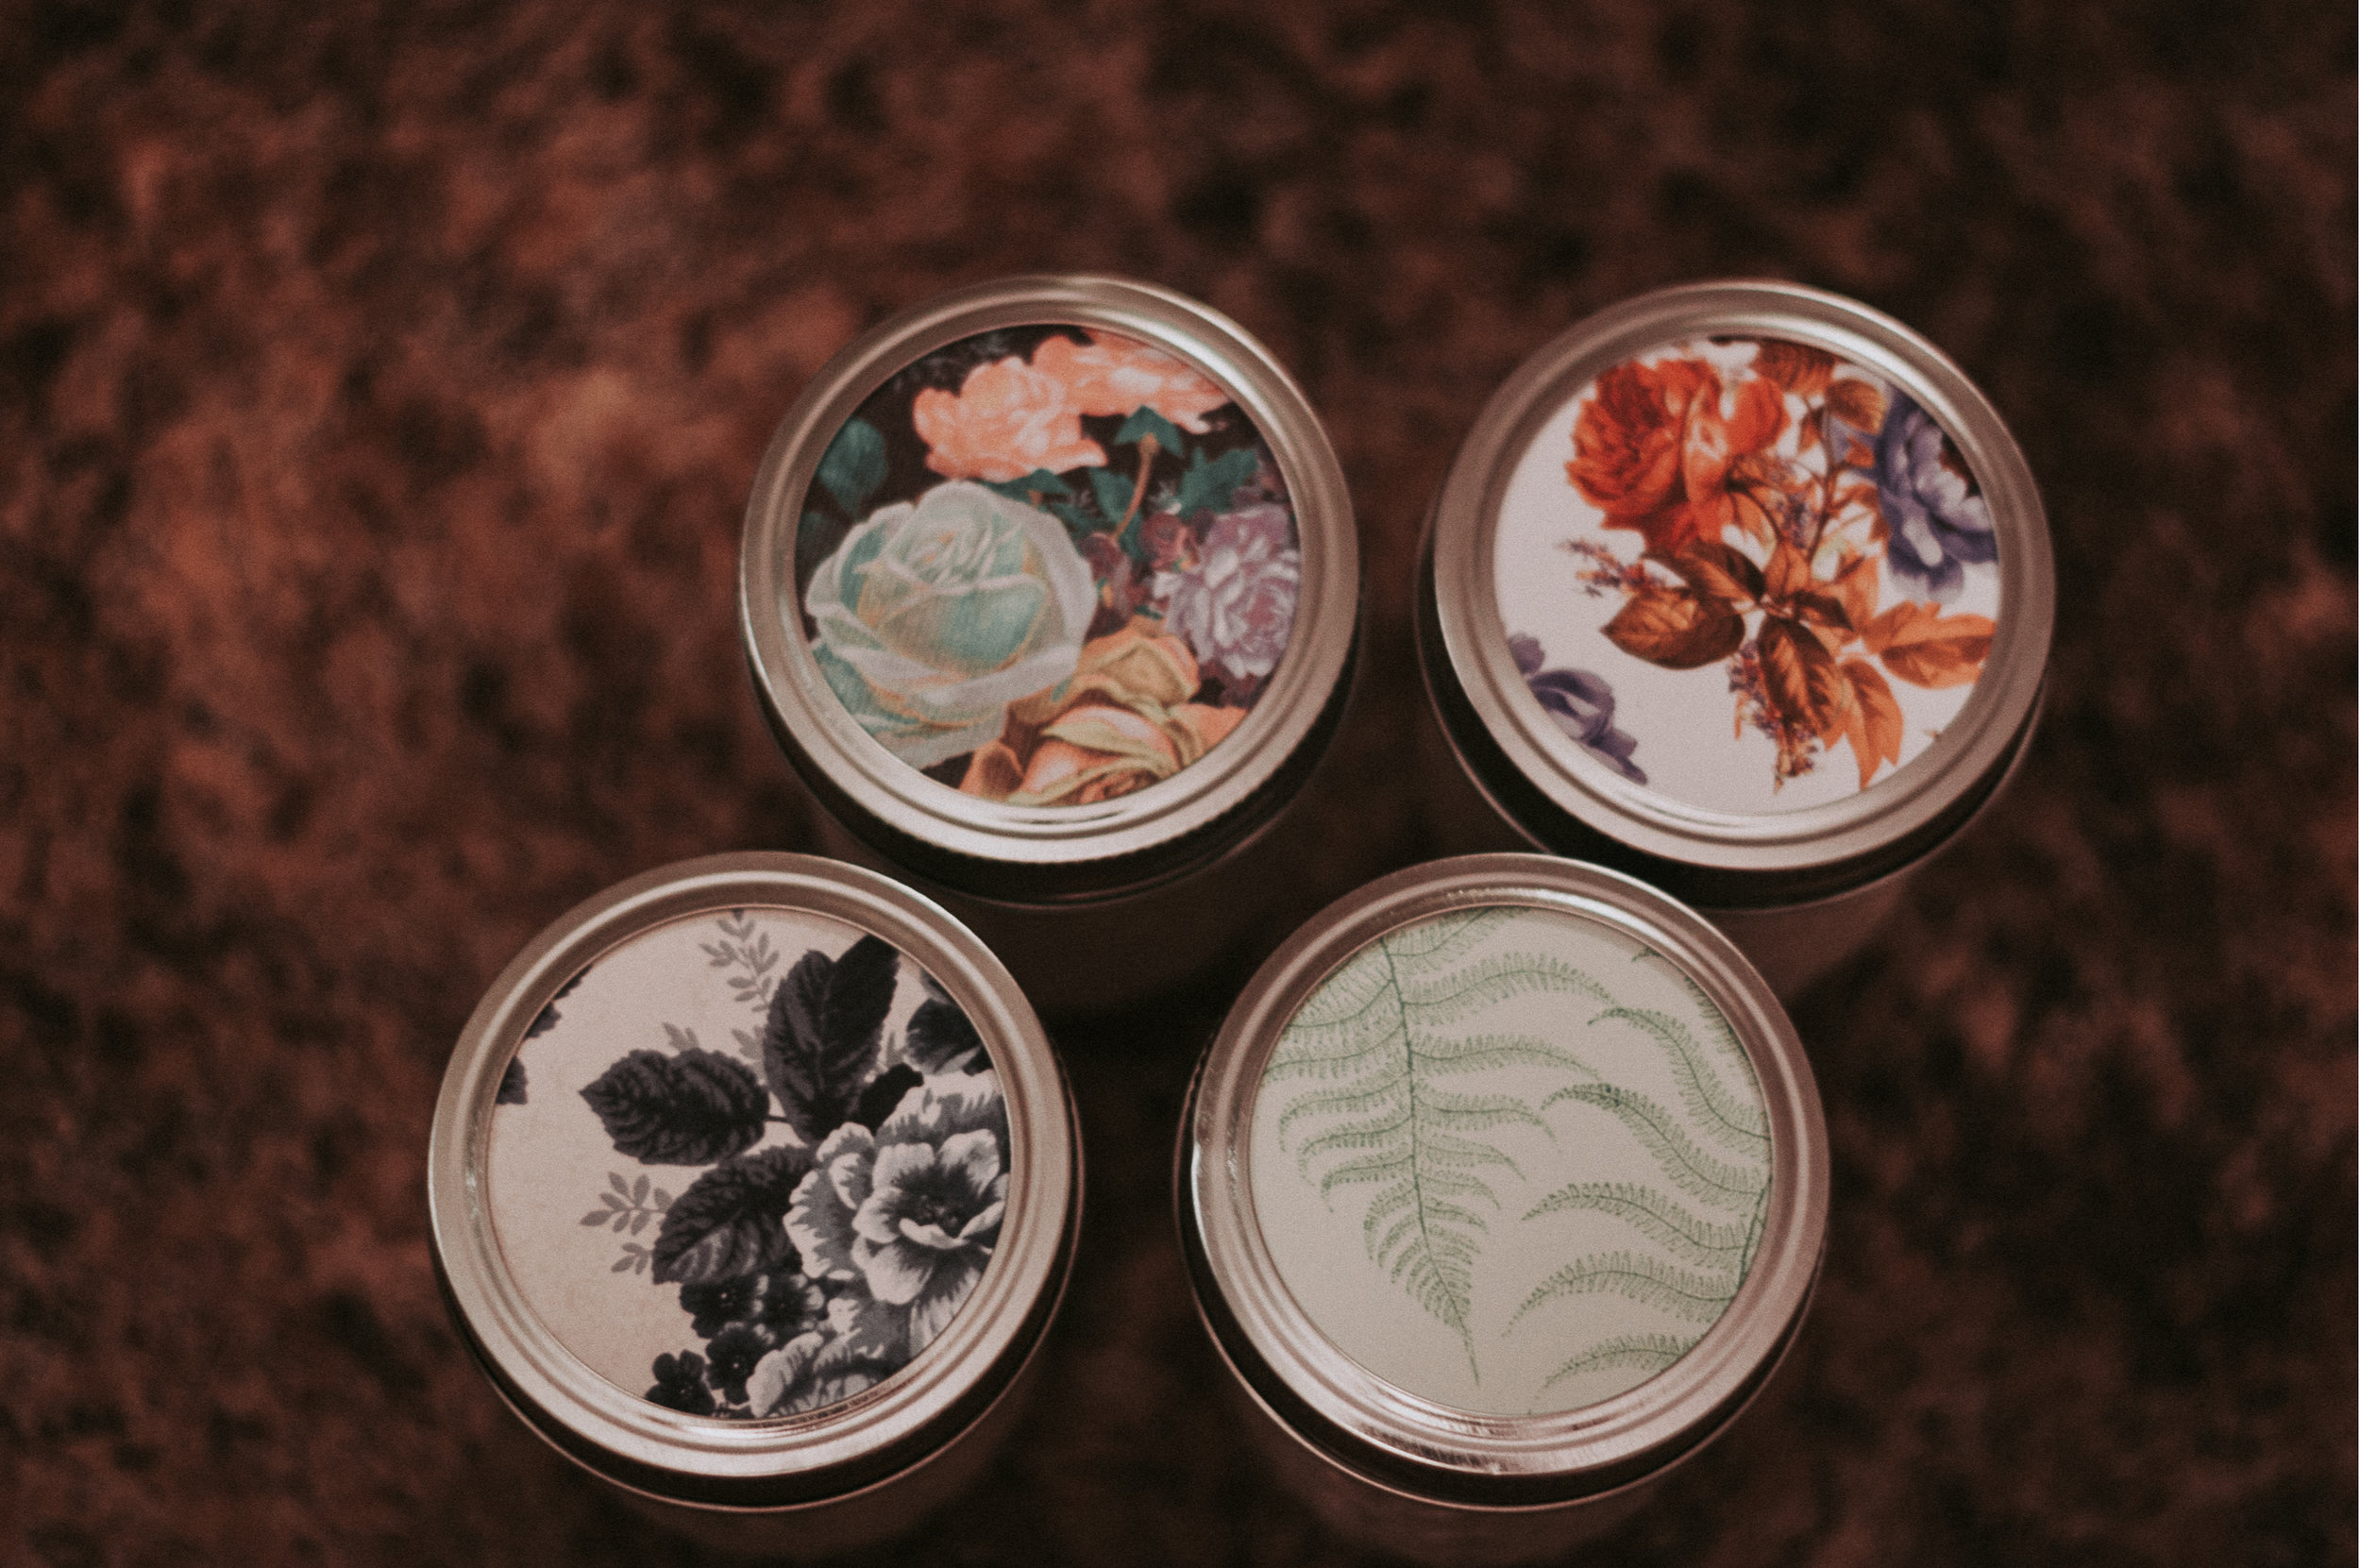
These make the CUTEST gifts! You can get little jars at the dollar spot in Target as well! Super freakin darling + totally affordable!!! <3 


I got this base recipe from Nikki!! She posted a video on her Facebook! And it's basically the best thing ever <3 So Thanks, homegirl! 

Let me know what you think!!! (: I would love to see if you make these! Or something inspired by these! definitely, tag me!!(:

UNTIL NEXT TIME, LOVELIES <3

//G

DIY Floral Dinosaur Wall Hangings

Mack Pettit1 Comment

I don't know about you, but I am straight up obsessed with these little guys! I like to take things out of the ordinary and make it some sort of home decor. I usually ask myself or Kawande(; "Could I put a plant in this? Could I hang this on our wall? Could I use this scarf as a tablecloth" type of thing! In this case, it was these little skeleton dinosaur toys. Why yes, yes I can hang these on my wall! And I am about to show you how I did the damn thing (; 


Supplies You Will Need!

  • Mod Podge

  • Wood Block

  • Scrapbook Paper 

  • Paint Brush 

  • Glue Gun 

  • Little Dinosaurs/figurines

  • Sandpaper (Optional)


  • Start off by cutting the scrapbook paper the size of your wood block. Get it as close to the same size as your wood piece. I don't worry about mine being exact because I like to rough up the edges of the paper. It makes it look 'Antiquey'. 

You can get little pieces of wood from pretty much any arts and craft store. You could try your luck at a thrift shop or if you want to repurpose something you already have. My dad gave me a bunch of little pieces of wood. You know, just for crafting reasons. Haha. I have a little bucket of them. I don't know what I'm going to use them all for yet, but they really come in handy when I want to make things like this! 

  • Coat the back of your paper with a thin layer of mod podge. You don't want to do a bunch of it. Your paper could get all soggy or bubbly. 

  • Place your paper on your wood block. Smooth it out gently. Once you have all the bubbles out and the whole thing is smooth, let that sit for 15-20 minutes. 


5.jpg
  • Do 1 to 2 more coats of mod podge, depending on what look you're going for. I usually do two coats. 15 minute drying times between layers. 

  • (Optional): After the wood block is completely dry, I like to take sandpaper and rough the edges of the scrapbook paper. Be careful, its easy to accidently rip your paper.

  • Now you just glue on your little figurines with a hot glue gun.

Kawande and I went on a date to the nicklecade. You can still see the stamp on my hand!! We were picking out prizes when I saw these little dino skeletons. I didn't have an idea for them at that moment, I just new I wanted them. I'm kicking myself that I didn't get all the different dinosaurs instead of all the ZOTS... You know, the little hard candies that fizz in the middle? Anyways... It's just another excuse to go to the nicklecade again!(;


My dude is literally the best and filmed a little time lapse of me doing the whole thing. So If you want to see the entire process done really fast, check it out!!! Plus, the song is the best part.. 


These seriously go PERFECT with my shower curtain! I've had it for about 2-3 years and I am just now starting to add to this bathroom! I got this shower curtain at Society6 and I can't wait to think of more cute little dinosaur ideas! If you have any, I'd love to hear them!! 

14.jpg

Let me know what you think!!! (: I would love to see if you make these! Or something inspired by these! definitely tag me!!(:

UNTIL NEXT TIME, LOVELIES <3

//G